Showing posts with label baking. Show all posts

Wednesday, December 25, 2013

Flourless Chocolate Cake

The prospect of making this cake intimidated the heck out of me. As still somewhat of a novice baker, I've yet to attempt anything "flourless" in the kitchen. The thought of missing so crucial an ingredient (even gluten free recipes call for some form of flour) gives me the heebee jeebees. So, what's a fearful baker who's conveniently home for the holidays to do? Call in the big guns: DAD. You might notice much older (and wrinklier?) hands in some of the pics; wouldn't want you thinking those were mine. To be perfectly honest, my dad baked this entire cake. I just supervised and annoyingly peeked over his shoulder the whole time snapping away. Does that make me a bad blogger? If so, what a delicious cheat and done only with the best of intentions. If you like chocolate, chocolate and more chocolate, this cake is for you. Who needs flour?


We worked from an old, dusty recipe torn from the pages of a nondescript newspaper circa 1992, so I can't properly credit the original source, but a similar recipe can be found here.


Ingredients:

1 lb bittersweet chocolate or four 4 oz. bars (we used Ghirardelli's bars here)
2 sticks of unsalted butter
1/4 cup hazelnut liqueur (or coffee, almond, chocolate)
1 1/2 teaspoons vanilla extract
7 eggs at room temperature
1 cup sugar


Directions:

Preheat oven to 350° F. Butter a 9-inch springform pan, line with parchment paper, and butter the parchment. In a saucepan, simmer the bittersweet chocolate (broken up into pieces), butter, and the coffee liqueur. When the mixture is fully melted & smooth, stir in the vanilla extract and set aside to cool. While that's cooling, beat your eggs for several minutes until they're fluffy (don't worry if this takes a bit longer than you expect) and add the sugar. Combine chocolate mixture with the eggs/sugar and blend. Pour batter into pan and bake for one hour or until a toothpick inserted into the center comes out virtually clean. Let cool in the pan, then loosen springform and remove. When the cake is fully cooled (we allowed it to sit overnight), dig out your sifter and sprinkle powdered sugar over the top. In a pinch, use a sieve for this step (amateur hour in this house!) and feel free to throw in a paper cutout of your favorite holiday shape to form the "blank space" in the center. We went with the obvious--a tree! Enjoy and Merry Christmas!


.
Pin It Now!

Tuesday, December 17, 2013

Banana Chips

I made these banana chips weeks ago, deep in the black hole of my extended blog "vacation" from July-November, so they never made it on here. Today's the day! Apologies to those of you frantically searching for holiday recipes for the 5,378 parties you'll be attending/hosting over the next two weeks...banana chips are probably not the answer. But these little guys are delicious & super easy to make. With only two ingredients (who am I kidding this isn't even a real recipe): Bananas. Coconut Oil. Boom. Your non-festive holiday party snack ready to go.


Ingredients:

Three large bananas
Coconut Oil (or any kind of oil)

Directions:

Slice the bananas very thin, coat in oil, and spread evenly across a cookie sheet lined with parchment paper or aluminum foil. Sprinkle with salt. Bake at 250° for about 2 hours, turning after 90 minutes. Let cool. The longer they cool, the crispier they become. If eaten right away (which I usually do), you'll have chewier "chips." Either consistency is equally yummy.


Pin It Now!

Wednesday, June 12, 2013

Banana-Raspberry Comfort Food

I know it's already Wednesday, and Monday seems like a distant memory, and the sky looks like this today:


But I swear, Monday was much less cheery with torrential downpours and unseasonably cold temps, leaving me jonesing for some comfort food. Crappy weather + comfort food = banana raspberry muffins? I have no idea either. The stomach wants what the stomach wants!

Wishing I could say my kitchen skills are up to snuff with those of Wear Flats To Dinner, the coolest food blog around, instead I settled for this recipe from the painfully typical Epicurious (slightly adapted).

Ingredients:
1 1/2 cups all purpose flour (I used Bob's Red Mill AP gluten-free flour instead)
1/2 cup sugar
2 teaspoons baking powder
1/2 teaspoon salt
2 ripe bananas
1/2 cup milk
1 egg
1 1/2 cups berries of your choice

Instructions:
Preheat oven to 400° F. Combine flour, sugar, baking powder and salt in one bowl, whisking to blend. Add the bananas, blending until smooth. Stir in the milk, eggs next, then fold in your berries. Divide batter between individual muffin tins. Bake for 30 minutes or until golden brown.

With minimal ingredients and only two mixing bowls needed, these muffins are easy peasy to whip up. Should you encounter a rainy day, with a massive craving for bananas and/or berries, that makes total sense and I know exactly how you feel. Try these bad boys, they just might do the trick.


Pin It Now!

Monday, March 18, 2013

Cinnabon Sunday


Cinnamon Rolls. Just the smell alone is enough to make your mouth water, amiright? The warm, sticky, gooey first bite... I mean, let's get real here, every Sunday should feature lots of frosted cinnamon-y goodness. Or maybe every day? Inspired by my fabulously talented friend Vanessa at Wear Flats To Dinner who's always up to something new and exciting in the kitchen, I decided to go big with my culinary ambitions in the cinnamon roll department. Maybe too big. From scratch, fully glazed, with almond flour and honey in place of white flour and sugar. As a baking novice who doesn't know the difference between a sieve and a sifter, perhaps I was biting off a bit more sticky-sweetness than I could chew? Probably. But WFTD doesn't shy away from a challenge, so neither is CL. (uh-oh same acronym as Craigslist?)

I followed this recipe from the blog Urban Poser, so feel free to skip all my baking adventure nonsense below and click on over for the full ingredient list and directions (here). In the meantime, here goes nothing!

Starting things out strong with an ingredient line-up...


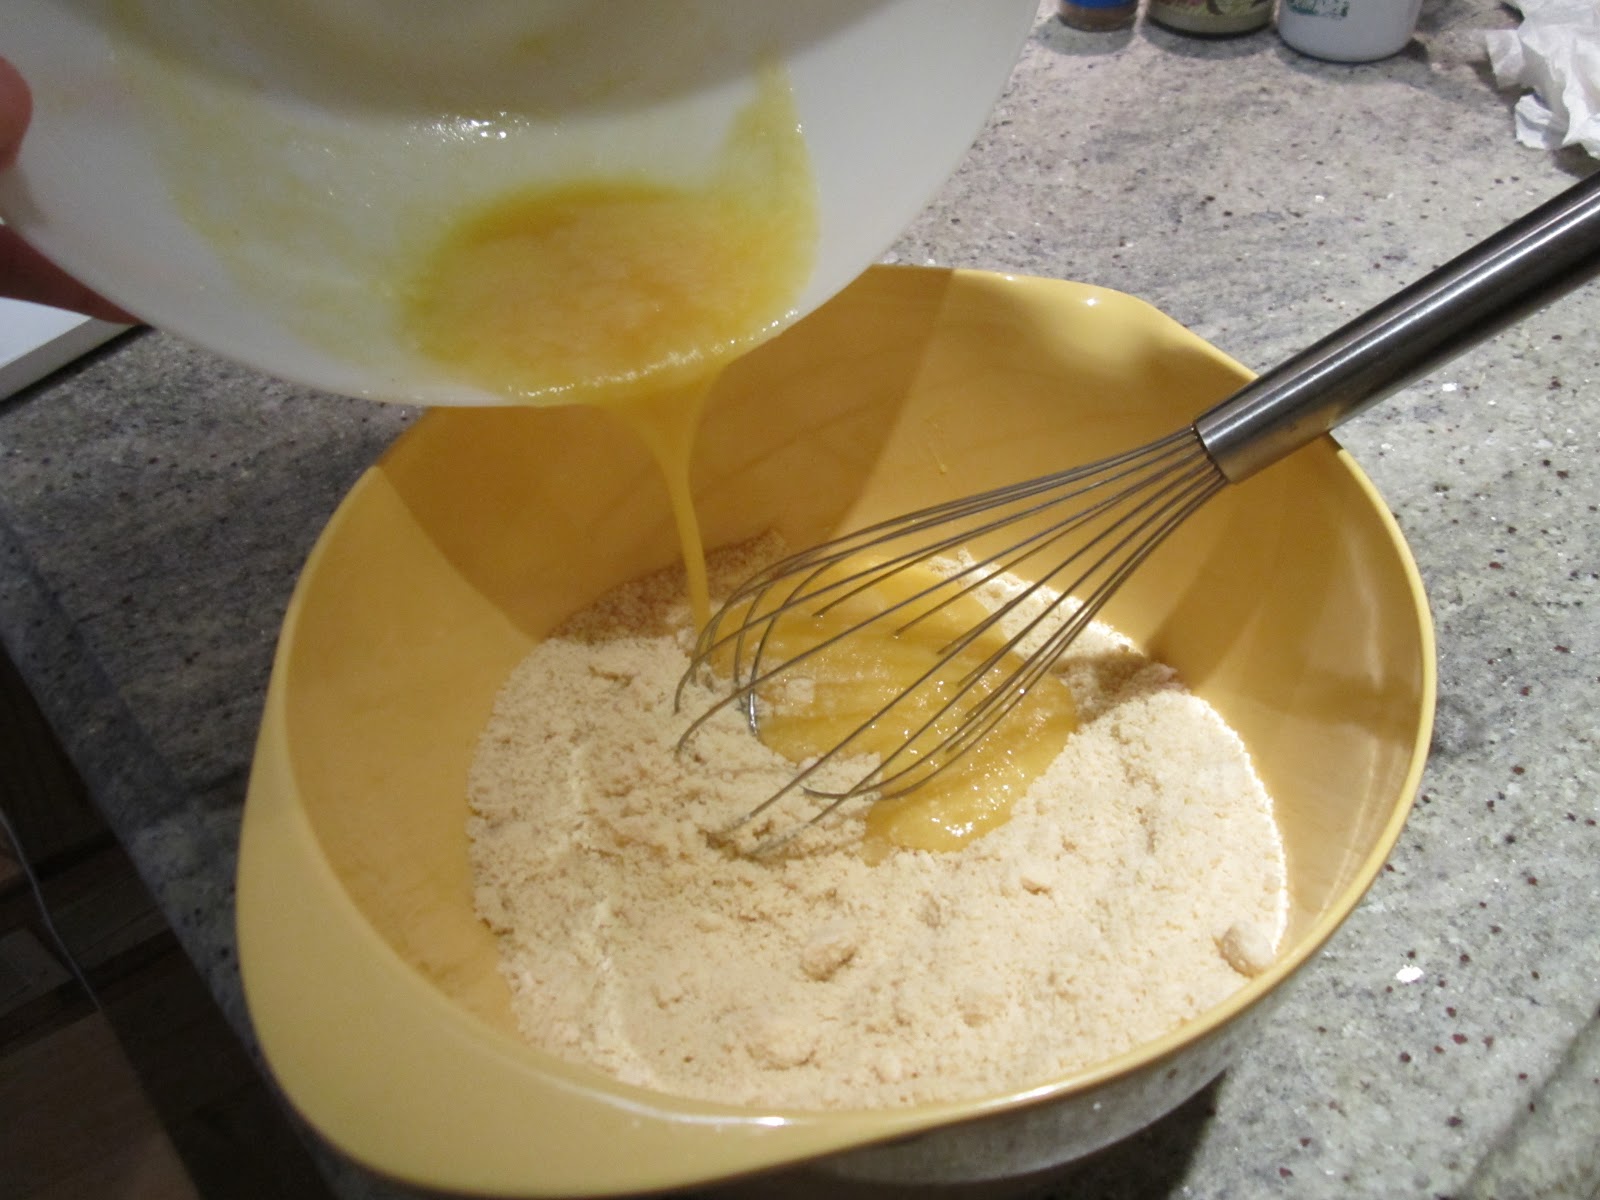
First step is to combine almond flour, baking soda and salt in one bowl with eggs, honey, and coconut oil in a second.


Next is "kneading" the whole mixture together to form a smooth dough. Feeling like a real pro at this point, the only skill needed here is a background in play-doh. Experts, everyone one of us.


 More play-doh skills come in handy for rolling the dough out. Seen here pre-flattened... 


Now comes the most fun part. After pouring honey onto the entire surface of the dough, you then spread it out evenly with your hands. Using your hands instead of a spatula helps to not tear the dough. Smoothing the sticky honey into every corner and crevice of the dough's surface, I felt like some artisanal candle maker, hand-crafting one-of-a-kind wax pieces in a small Italian shoppe. Trust me, try it and you will feel the same way!


Next comes the innards. The raisins/walnuts/pecans/etc that go into the center of the roll. For me, the simpler the better, so all I sprinkled in was raisins and cinnamon. But feel free to be much more adventurous and sprinkle in whatever you like. Is it just me or is this starting to look like a giant Ants On a Log?


 Roll it up!


 Slicing and dicing to make sushi--I mean cinnamon rolls...


Into the oven they go. Bake time: 10-15 minutes.


As my kitchen filled with the wafts of warm cinnamon-y goodness, I turned my attention to the last and most nerve-racking step: the icing. In my quest for as challenging a cinnamon roll endeavor as possible, my original plan involved replacing the vanilla extract called for in the recipe with actual vanilla beans from a vanilla bean pod. Yes, vanilla bean pods exist. And they are sold in glass jars. Whole Foods is a crazy place. Eyeing my two vanilla beans with trepidation, I wavered momentarily on my initial commitment, but feeling confident enough coming off the play-doh portion, I went for it.

Lo and behold, the pods just look scary (and like giant spider legs). Scraping out the beans is easy peasy.


Mixing the vanilla beans into a bowl of coconut butter, honey and coconut milk... the frosting was ready. 


Once the rolls are cooled, on go the finishing touches. A few more dashes of cinnamon for good measure, and a smear of icing... Ta Da!


Challenge accepted and a success!
.
Pin It Now!

Tuesday, February 12, 2013

Nerdy Life Goals

For someone who doesn't do resolutions, this post sure looks a lot like a list of resolutions. However, it's really more a bunch of longer-term goals and ideas that have been taking up a significant amount of space in my brain lately and refuse to vacate. Ding ding! They must be important to me. To e-ink and e-paper they go!

My Goals:
  • Travel more. Whether it's two miles away or 2,000, I want to go/see/experience it.
  • Visit my family more often. These days, the norm is seeing them at Thanksgiving, Christmas and 1-2 other times throughout the year. Unacceptable! Frequent flier miles here I come.
  • Take the stairs instead of the elevator in my apartment building every day. It's five measly flights, yet shockingly weeze-inducing.
  • Blog more often. The process of putting my thoughts to digital paper and sending them out into the ether of the internet universe has become, to my surprise, something I truly enjoy. Carving out the time is the most difficult part.
  • Cook/Bake more and try out new recipes. Also something recently discovered that I'm surprised to find I love. Plus, I already have an eager taste-tester waiting in the wings with Kevin!
  • Take more pictures. My older and wiser self will look back at them some day and thank me.
  • Work on being less of an emotional eater and more on constructively managing anxiety, pressure, and uncertainty (hello stress eating). Embarrassing to admit, but heck, we're all friends here right? If I can't say it to the faceless, anonymous walls of the interwebs, then when can I.
These are the biggies that have been rattling around my head. More to come I'm sure. What are some of YOURS?

Thanks for listening blogosphere!
.

Pin It Now!

Thursday, November 8, 2012

Christmas Came Early

It's here! It's here!

My wonderful, fantastic, loving mother bought me this Vitamix food processor as an early Christmas gift a couple weeks ago when we were all in Philadelphia. I have been waiting patiently for its arrival ever since, imagining all the delicious smoothies, spreads, sauces, and batters to concoct, and today was the day! Wasting no time at all, I pulled it right out of the box and whipped up some very Fall-appropriate pumpkin/raisin muffins right then and there. Thanks Mom!!

The Vitamix don't mess around!
Pumpkin/Raisin Muffins

Up Close & Personal

.

Pin It Now!

Saturday, August 25, 2012

A Bread-tastic Weekend

I recently turned 28 and have been feeling all of my twenty-eight years lately. I realize the ridiculousness of this statement within the larger scheme of life and how relatively young 28 truly is, but what can I say, I am not feeling very spring chicken-y! All jokes aside, I am enjoying entering my late twenties, but have been noticing lately the domestic itch creeping in. Not in a bad way! Just interestingly so. Case in point: cooking. Up until recently, I have never been that keen on learning to cook despite both my parents being very talented in the kitchen and big proponents of the nightly home-made dinner while growing up. However, over the last couple of months or so, I've gotten into cooking and baking and it has become a fun journey of discovery and a real source of joy for me. I'm certainly no Julia Child (yet!), and don't have a ton of practice, but am loving the experience of finding new recipes to try and the sense of accomplishment that comes with the success (and sometimes failure!) of the finished product.

Ingredient line-up 
Today, I baked bread from scratch. And not just any old bread -- gluten-free/sugar-free bread. Pretty advanced stuff! I followed a recipe that called for coconut flour in place of regular all-purpose white flour from the blog Against All Grain, which you can find here.

I must say, the loaf came out looking and tasting darn good! No hint of coconut flavor either, which I was a little worried about.

All in all, a wonderful way to spend a lazy Saturday afternoon.

Fresh out of the oven!


P.S. a big shout out to the bf who fully supports my culinary adventures even though, as he puts it, "there is no sous chef in baking." I insist there has got to be. We are working on it!
Pin It Now!